The Edit Job Page appears when you first create a job or when you click the Edit Config button from the Job Page.
At the top of the page, you can name or rename the job under the Job Name field. The name must not contain any spaces.
You can also choose the job group to which the job is assigned by selecting the appropriate group name under the Group field. Job groups must be created and configured through the Configurator. See Running tasks as alternate users for more on that subject.
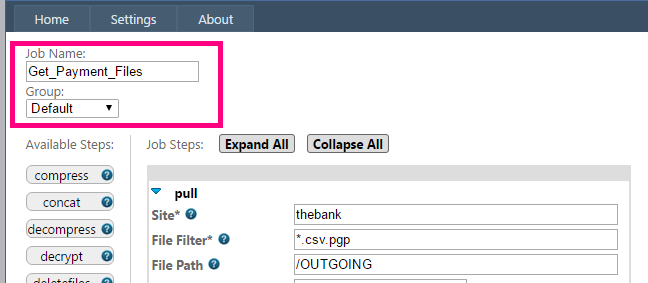
Job Name and Group fields
The initial interface for a job appears below:

The job configuration page provides an easy to use drag-and-drop interface. Simply drag a step from the Available Steps on the left on to the gray landing area
in the center, and you will be given the available options for that particular step:
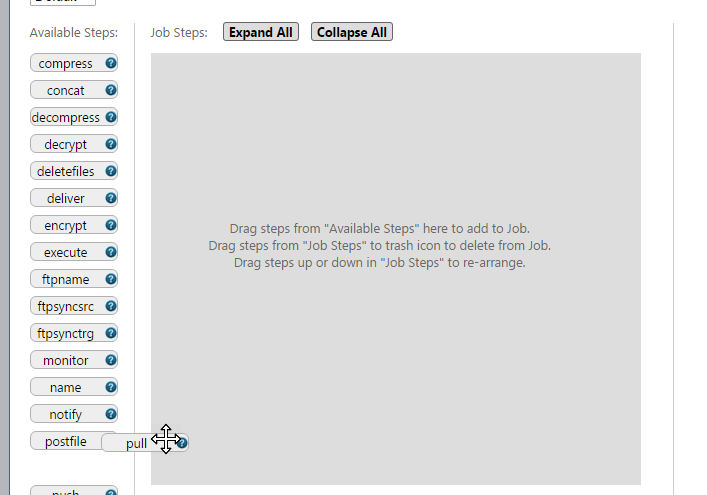
The available options for that step will now appear where you dragged them:

If you decide you no longer want to use a particular step, you can simply drag it to the trash can icon to the right to discard it, as shown below:
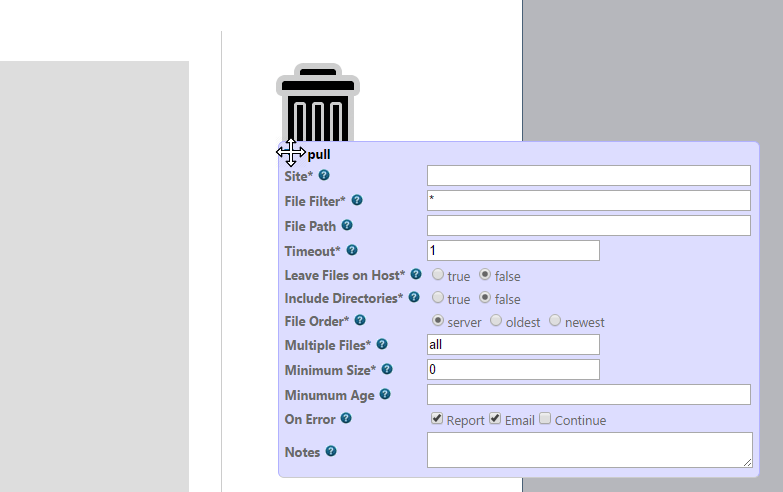
To change the order of steps, just drag the step to where you want it to appear in the list.
To see the available options for each step, refer to Built In Steps. Alternately, under "Available Steps", to the right of each listed step name, you will find a question mark icon. Click the icon to display in-depth help for the step. Once you have dragged over a step to the right, there will be a similar question mark icon to the right of each setting for the step. Hover your mouse pointer over that icon to reveal quick mouse-over help just for that one setting.
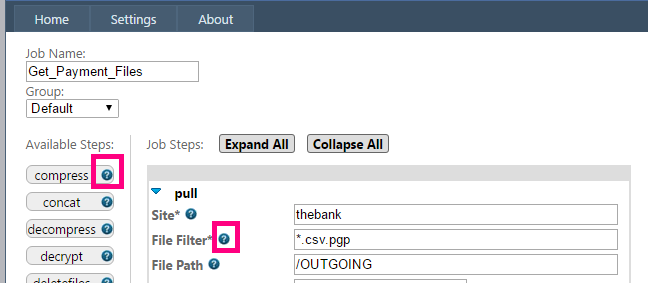
Links to Comprehensive Documentation
When editing jobs that contain many steps, you may find it convenient to click the Collapse All button, found at the top of the page, which hides the settings of each step and allows you to see the bigger picture. Alternately, click the Expand All button to see the details of all steps in one click.
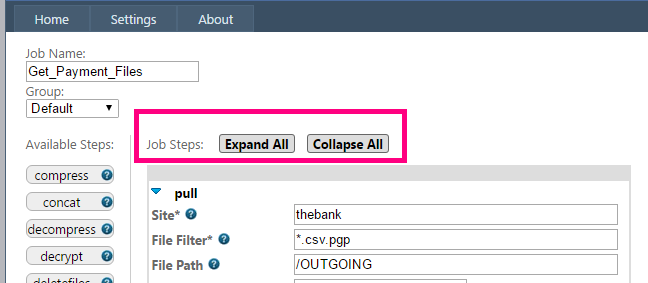
The Expand and Collapse All buttons
Once you are done editing or creating a job, click the Save button to finalize your changes.